"As for me and my house, we will serve the Lord." Joshua 24:15
Showing posts with label cheese. Show all posts

10.10.2011

My new favorite mac n cheese

A good, homemade, creamy macaroni and cheese is one of my favorite things ever. Especially on these chilly fall evenings. 
My mom made this version for us recently and I did not believe her when she told me it's pretty low in calories! 390 for a hearty 1 1/3 cup serving, 10.9 grams of fat... oh, it's still sinfully cheesy, but a lot healthier than most.
The secret? The sauce is made with pureed butternut squash! It makes it delicious and rich, with no butter, no flour, and no cream.


Here's what you'll need:
3 cups cubed peeled butternut squash (about 1 1lb squash)
1 1/4 cups vegetable broth (you can use chicken broth, but of course we make it vegetarian)
1 1/2 cups fat-free milk
2 garlic cloves
1 tsp kosher salt
1/2 tsp fresh ground black pepper
2 tablespoons fat-free greek yogurt
1 1/4 cups (5 oz) shredded gruyere cheese
1 cup (4 oz) grated pecorino romano cheese
1/4 cup (1 oz) grated fresh Parmigiano-Reggiano cheese, divided
1 pound uncooked cavatappi (I used penne)
cooking spray
1 tsp olive oil
1/2 cup panko
2 tablespoons chopped fresh parsley


Combine squash, broth, milk and garlic in a medium saucepan; bring to a boil over medium-high heat. Reduce heat to medium, and simmer until squash is tender when pierced with a fork, about 25 minutes. Remove from heat.


Place the hot squash mixture in a blender. Add salt, pepper and greek yogurt. (My greek yogurt was expired-oops... so I made a last minute substitution and used mascarpone cheese instead. ) Remove the center of blender lid (so steam can escape); secure lid on blender, then cover the opening with a towel. Blend until smooth. Place blended squash mixture into a bowl; stir in gruyere, romano, and 2 tablespoons parmesan, stir until combined. 


Cook pasta according to package, drain well. Add to squash mixture and stir to combine. Spread mixture evenly in a 13x9 baking dish (I used a 9" round ceramic dish instead- worked out fine) coated with cooking spray.


Heat oil in a medium skillet over medium heat. Add panko and cook for 2 minutes or until golden brown. Remove from heat and stir in remaining parmesan cheese. 


Sprinkle evenly over the hot pasta mixture. Lightly coat topping with cooking spray.
Bake at 375 for 25 minutes or until bubbly. Sprinkle with parsley.


This stuff is seriously so good. The butternut squash is not obvious when you eat it; it just adds a richness and a hint of sweetness. Yum. 

5.27.2011

Simple pasta recipe

Well hello! I'm not exactly sure why, but I've just not been in the blogging mood lately. 
Ironically, since my blog is 'sleepless in Sandy', I couldn't sleep anymore this morning. Baby (who's almost two, but he will always be baby to me) sleeps like a perfect angel. Goes to bed at 7pm happily, awake, and without a peep... and sleeps ALL night long until usually 8 or 8:30 am. Love him. He's been sleeping like this for at least the last 6 months... probably since I weaned him at 14 months. And Ty gets up early, but gets himself breakfast and watches a show on daddy's iPad. But my blog will always be 'sleepless'. It reminds me of those exhausting nights and tired mornings with young babies and makes me thankful for my sleep. 

Anyway, I found myself awake much earlier than normal today. The house was quiet, the coffee was hot, and blogger was calling. I don't think I mentioned this before, but last month sleepless in Sandy turned a whole year old!! This was exciting for me, and I wanted to do something special to celebrate.... but I just never came up with the perfect thing. Ah, well...

Here is a great recipe I wanted to share, taught to me by my mama. Simplest pasta ever. And great timing too, because I just scored 41 boxes of free pasta at Albertsons with coupons. Probably my best coupon deal ever. And no, I don't plan to eat pasta every night to "use it up"... We eat pasta probably twice a week, so this should last close to six months for our family. Visit frugal living (my fav couponing website) to learn more.

 My mom knows the fancy italian name for this traditional pasta recipe, but I can't remember it... and she's probably still asleep. :) So I shall not wake her. And we shall call it Butter Parmesan Spaghetti. 
Ready?

Melt butter in large frying pan. I used about 3 tablespoons here, plus a couple tablespoons of olive oil. 


Add lots of fresh ground pepper. The fancy italian name is something about pepper... So this is important. And yummy.


Meanwhile, your noodles should be boiling... make sure to reserve about 1 cup of the cooking water. That's the secret, apparently.


Add your cooking water to the butter and pepper. I didn't add the whole cup right away. You can always add more if you need it saucier. 


Toss your (drained) noodles into the butter mixture. These are the free noodles I got, Ronzoni garden delight, or something. They actually have veggies in them- something like a whole serving of veggies per serving of pasta. Why not? And they are yummy!


Now add lots of grated parmesan cheese. Start with a little and stir really good... the pasta water thickens up as you add the cheese, and you don't want it too thick. It's all about the right balance of cheese to pasta water. So add slowly. 


You should end up with lovely saucy noodles. My sauce was a bit too thick in this pic. I went a little cheese crazy. Add extra pepper now too. 
Oh, here's a secret- use freshly grated parmesan, or..... if you are out and you have the shake can of parmesan (my hubby loves that stuff so we always have it and it keeps forever in the fridge), use it and it tastes just as great! This makes it a perfect recipe for just before I need to grocery shop again and I'm out of everything. 


My chives are growing like weeds right now. They must love rain. We've had lots of rain. I know I mentioned that recently so I won't elaborate. Anyway. 


Chives taste fab snipped on top of this simple pasta. As does a little lemon zest. You can even stir a little fresh squeezed lemon juice into your sauce. Or citrus vodka as my mother does. I plan to try it next tossed with some roasted veggies. Broccoli perhaps? Yum. 

2.24.2011

Artisan bread in 5 minutes

I've heard about this easy method for making awesome bread lately, and finally checked it out on make happy. I love experimenting with bread recipes, but to get a really amazing artisan loaf like this, it tends to be rather time consuming. Not anymore!! 
Easiest.Bread.Ever. 
You mix up a big batch of dough- only four ingredients for the white bread:
water
flour
yeast
salt

This is why I started with the white. The wheat requires more ingredients, some I didn't have on hand. But I'm excited to try it next. 


The recipe makes enough dough for 3 or 4 loaves of bread! After mixing, you let it rise a couple hours, then stick it in the fridge and just pull off chunks whenever you want a fresh loaf! It keeps for 2 weeks! Brilliant. 


Here is my first loaf. I shaped the dough a bit, dusted with flour and made slashes in the top. You bake it with a pan of water in the bottom of your oven and the steam makes the crust all gorgeous. 


It was so yummy.


I dipped it in my new aged-for-25-years balsamic vinegar while still warm... amazing.


I decided to copy Marisa and try a garlic cheese loaf. I love the versatility of this dough... there aren't a lot of rules. I like that. I flattened out my dough, the covered it in a mix of melted butter and Johnny's Garlic Seasoning (Costco), then grated aged white cheddar. This is actually my second garlic cheese loaf... I used too much cheese for the first one and it was super oily when it came out of the oven. So don't use too much cheese. :)
Then I rolled it up and tucked it into a parchment lined loaf pan.


Here it is! All melty, cheesy, garlicky goodness.


This was my favorite. 

There is a whole book (or two...) you can buy about this method. There is a huge wait for it at the library, so I suppose I should just buy it. I think this dough would make awesome pizza crust too. Anyone else tried this?


Edited 2/25/11: Click here for the recipe, then scroll down to the section that says "free recipes", and click either the 'White Boule Artisan Free-Form Loaf' or the 'Wheat Artisan Free-Form Loaf". A few people mentioned having trouble finding the measurements and full recipe. Let me know if that helps!

10.07.2010

Garden fresh caprese

This is my absolute favorite salad. Possibly my favorite dish of any kind. I eat it several times a week, but the best time is the end of summer... fresh garden tomatoes!! I picked my first ripe one today! (finally!! the last ripe one I had fell off the plant and became slug food). We've had such a cool summer that the poor tomatoes are so late. I'm afraid I won't have many ripe ones. Thinking I'll have to try this delicious looking fried green tomato recipe at make happy to use up the ones that never ripen.
Anyway, last weekend I made fresh, homemade chevre, then today I picked a gorgeous yellow heirloom tomato from my garden... This salad was so meant to be.

These are from my parents' garden-- they get just enough more sun than I do. Luckily they share. :)
Also a few from one of the teachers at Ty's school.  (Thanks Carmen! They were delicious!)


In my excitement to cut into my first garden tomato I forgot to snap a pic of it. But you can see the beautiful yellow slices!


Garden tomatoes, homemade chevre, plus a few slices of buffalo mozzarella (my fav- but fresh mozz is great too), basil from my herb garden, a drizzle of olive oil and salt and pepper. Mmmm. Simple summer deliciousness. Oh, I splashed a bit of balsamic vinegar on before I ate it. Love that part.

10.06.2010

Homemade chevre

I bought a chevre kit from a cheesemaking supply booth at a local farmer's market (Oregon City) late this summer, and just got around to making it. What a fun thing to do! And so delicious and fresh!
I think the farmer's market is over now, which is a bummer because my kit can be reused if I buy more of the culture packets, but I found a couple places I can order them online. You can learn more about cheesemaking on the website Curds On The Way (great name, eh?!) and also find links to order supplies or sign up for classes. I so want to take a class.
Ok, I have to show you the steps so you can see how easy this was:


Gather supplies: kit plus goat's milk, stainless steel pan and spoon, and thermometer 


Sterilize equipment with boiling water, then heat milk to 86 degrees.


Pour in jar...


Trip over "helper" a few times during the process...


Add culture to milk


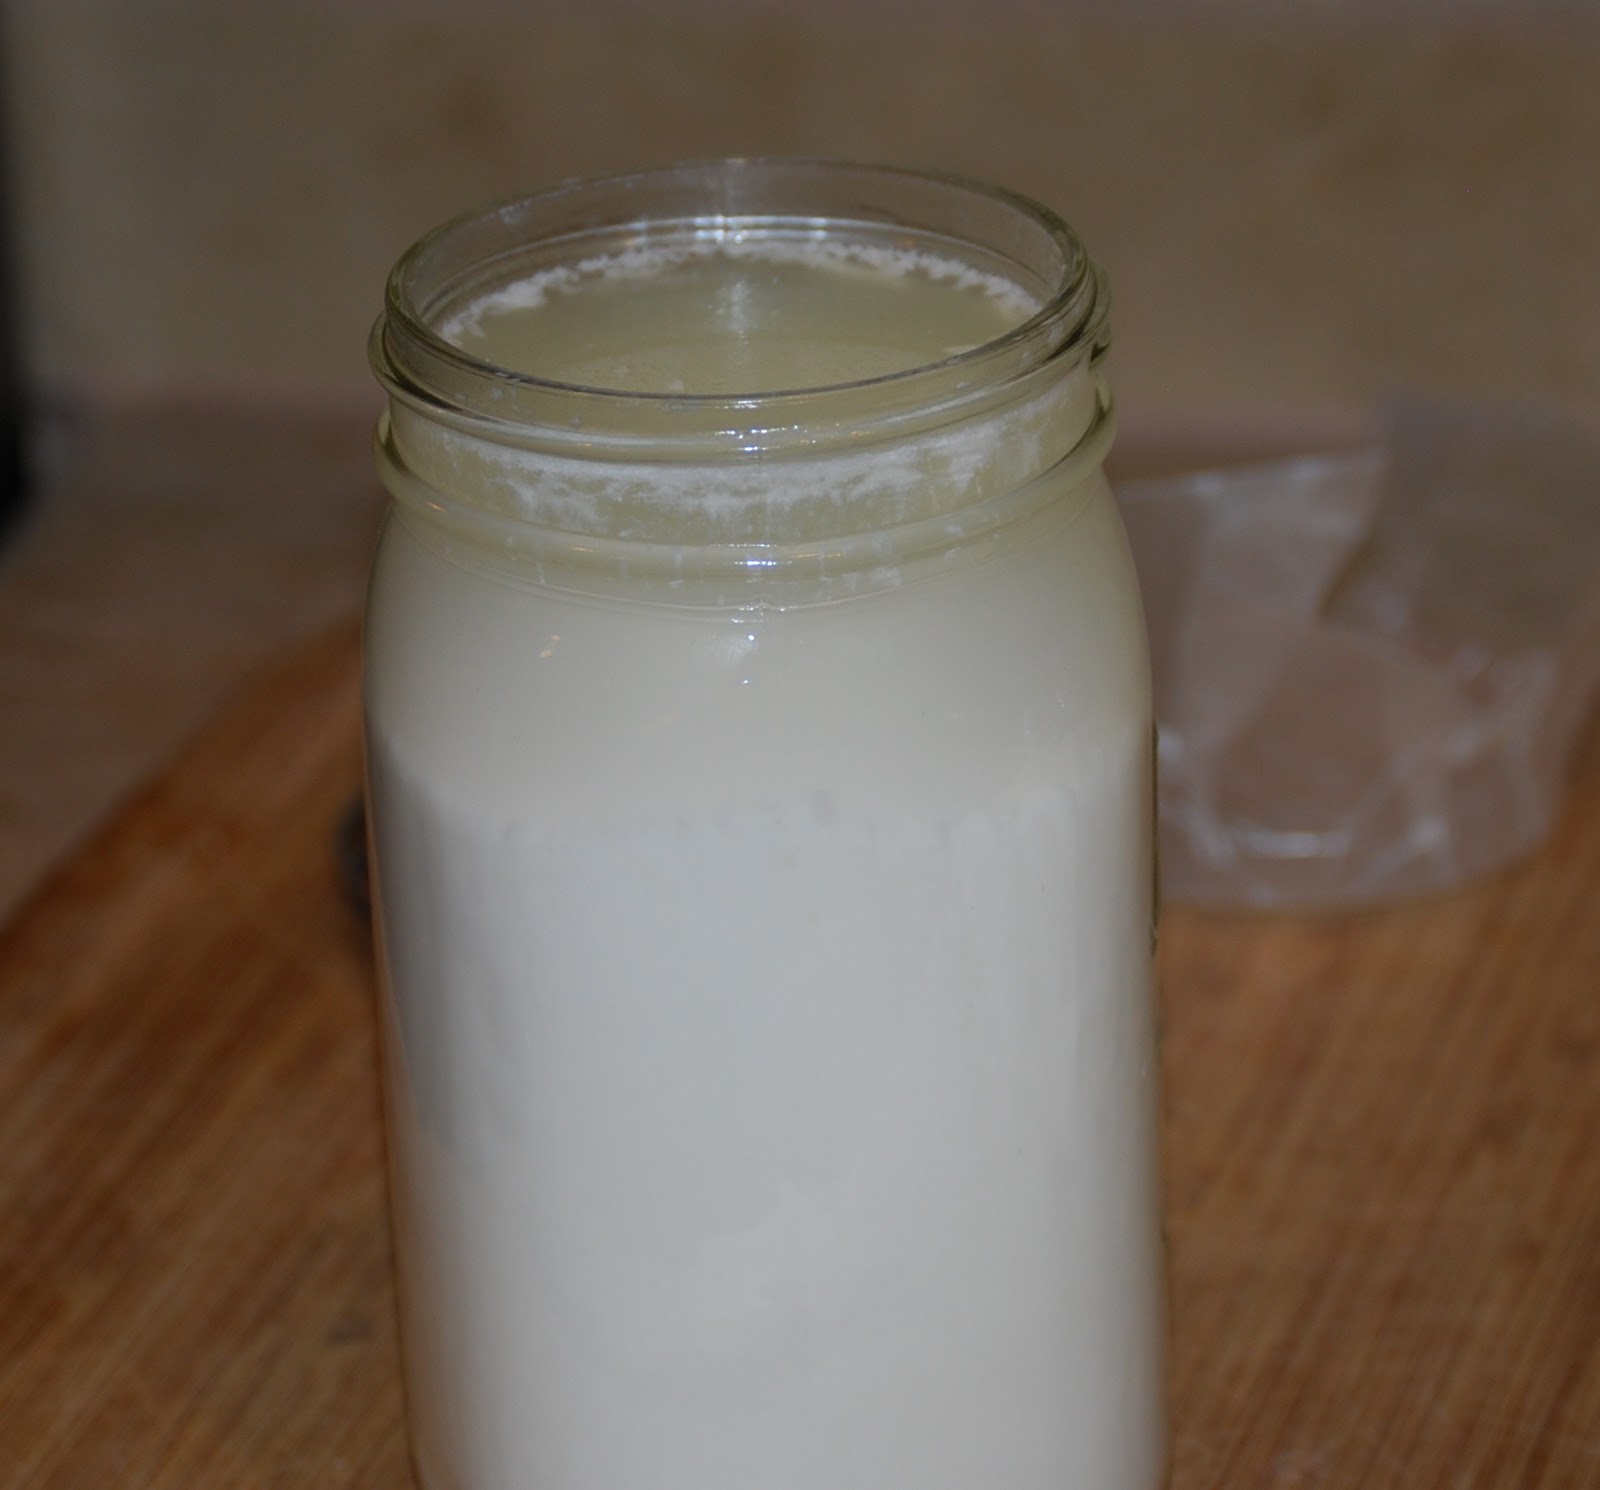
Place covered jar in oven with light on to keep at around 80 degrees for 12 hours


Pour off whey, then cover jar with cheesecloth and strainer


Place upside down in container to drain for 6 to 8 hours, then put in the fridge


Ok, here's the funny part... You are supposed to mold the cheese using a mold with drain holes, but I don't have a mold. So I borrowed the tiny colander from Ty's play kitchen. Worked perfectly!


And here it is, my finished goat cheese! Delicious! You can, of course, add chopped fresh herbs to the cheese, but I'm a bit of a goat cheese purist. It's wonderful just like this. 
Come back tomorrow for a very simple late summer recipe using this cheese.